Time to answer the question nobody asked.
As you guys may know, I do not have a drawing tablet. So how do I do it? You see, I have a process. A long process that's probably unnecessary for me to do this, but it's my process. Who's ready to get confused by how I do art? Perfect.
(Before I start, I do use GIMP - I know a lot of people use Photoshop, but I cannot afford that.)
Then let's begin. (It's all in the spoiler, since it is pretty long.)
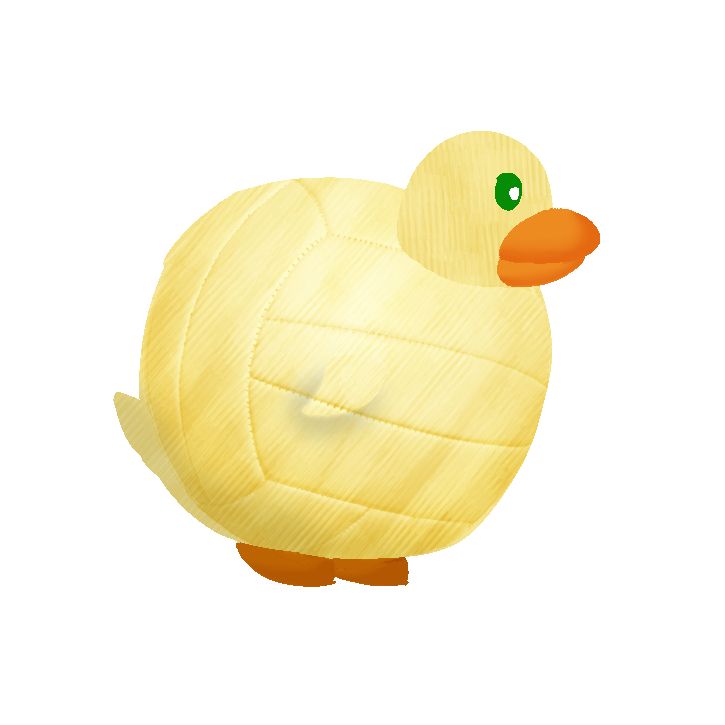
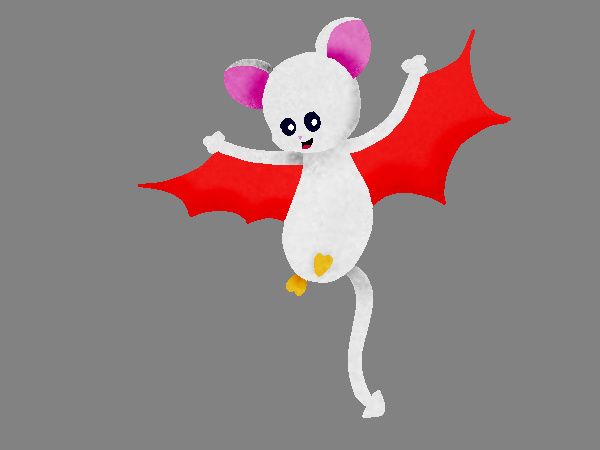
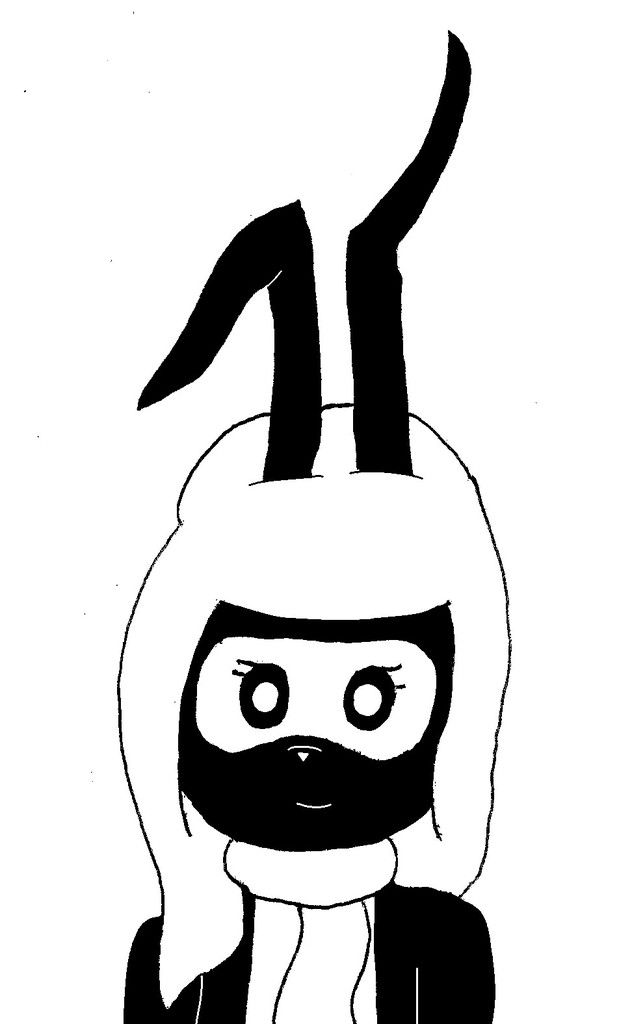
1) First, I sketch on paper. I never have too detailed sketches. It's really basic. From there, I make it digital. This can be through scanner (that I prefer) or by taking a picture, emailing it to myself, and downloading it (what I'm stuck with). At this stage, I make the proportions smaller, since the dimensions are pretty big at first. Usually, I like having the biggest dimension about 700-750 pixels, but since this is for the Art Gallery, it's 600 pixels.
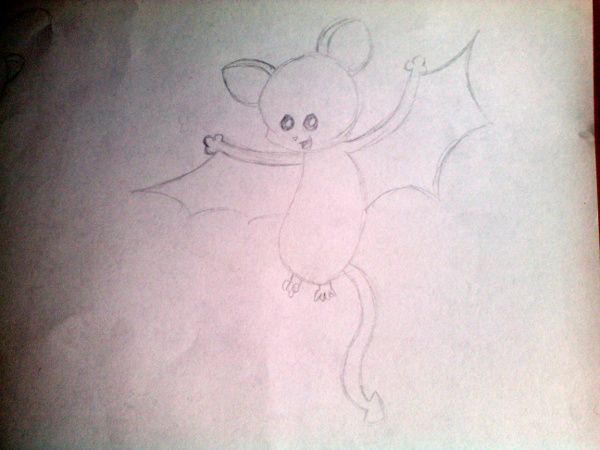 Note: I did up the contrast a bit since the quality of my phone's camera is about as well as my speaking skills in front of an audience. XD
Now I drew a Korbat since I like drawing them, the people on the ArC like how I draw them (my buddy, Naru, loves how I do them and I am so flattered X3), and Korbat day is coming up.
2) First, new layer, nothing in it.
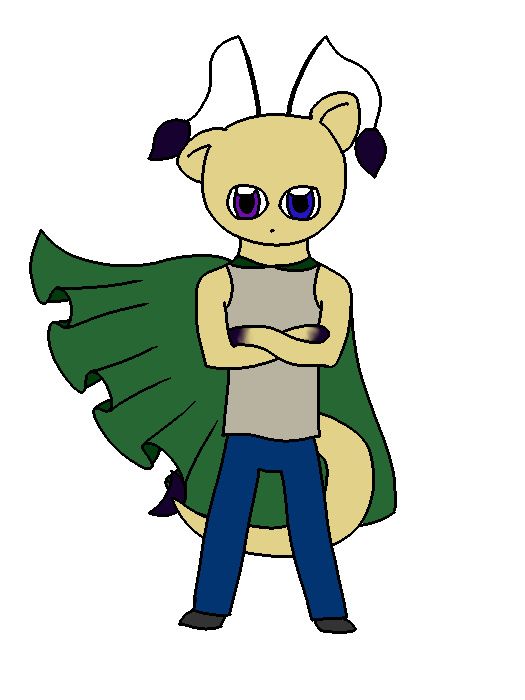
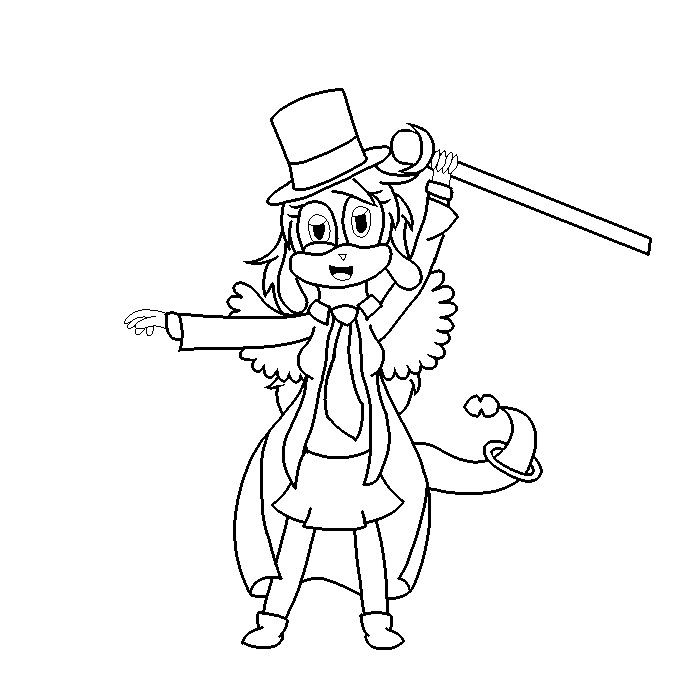
Now I draw the outline. Not as bad as it sounds. In GIMP, there's a thing called Smooth Stroke that make the lines drawn smoother. (I think the Photoshop equivalent to this is Stabilize? I wouldn't know). You can adjust the quality and weight to make the lines as smooth as you want (what those individual things do, don't ask me). I like to set 50 for quality and max out weight. Those are just my preferences. So I go into Pencil and outline the sketch on that empty layer.
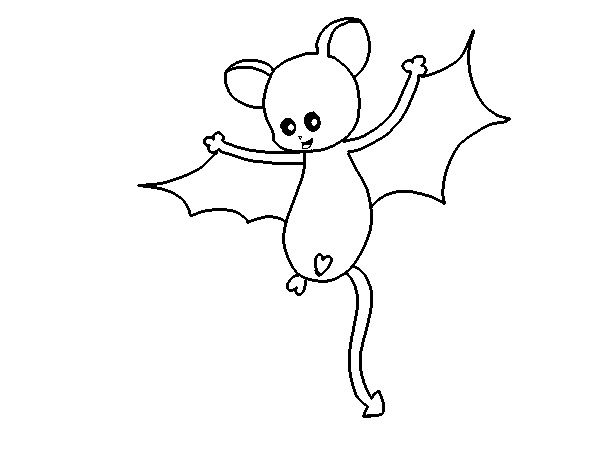
This would also be where I adjust things that I originally didn't like in the sketch. Like if an arm was too long or if the eyes were lopsided. In this case, I changed up the feet. I like the cute feet. :3
Its body is shaped like a bean. X)3) Okay, duplicate the outline (no particular reason, but I like to keep it around just in case).
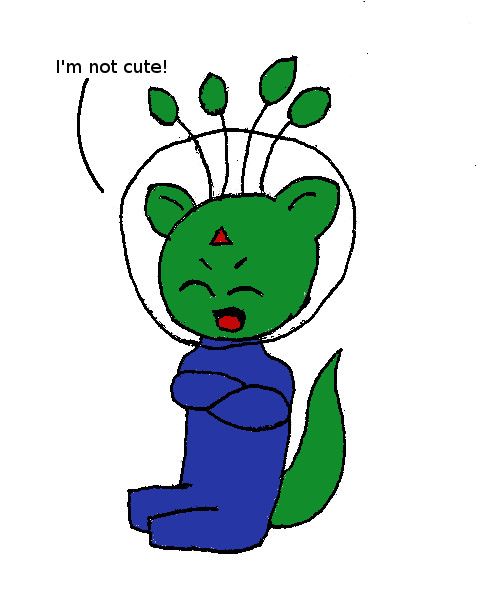
Now this is where it gets complicated. Now how do I make it lineless? There are lines. Thick, black lines. Well, ever hear of the four color theorem? Basically, one day in school, I heard that you can color a map of the United States only using four colors and no adjacent states would be the same color. That is sort of the technique I use. (This is how I got the idea to do lineless art.)
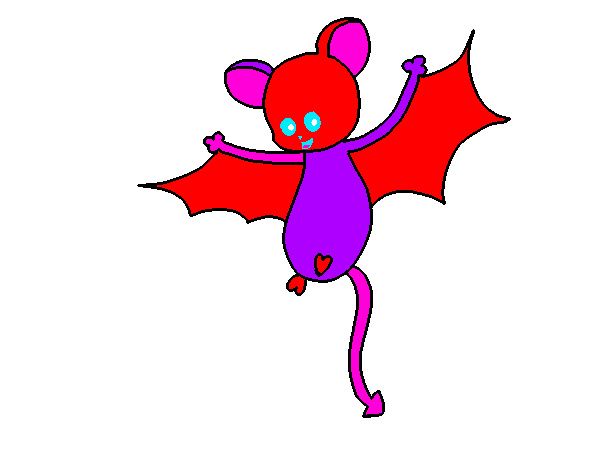
See, there are three main colors (red, purple, and magenta) and one for details (cyan). No adjacent area has the same color. I like to have details a different color from any that I use in the picture. In fact, this is pretty simple compared to other drawings I did with this method. In my usual drawings, at least four main colors are used during this part while this one has three (my pic of Kayaini had eight since that one is a lot more complex). I like to keep similar things similar colors. Like both wings are red, both feet are red, both ear insides are magenta, you see.
And I do have a system for color. The order I usually go in is:
Red, Purple, Magenta, Cyan, Bright Green, Blue, Orange, Yellow, Aqua (by that, I mean greenish cyan) (others I will figure out as I get to them)
4) Now duplicate THAT layer.
Uhmm, it still has lines.
I am aware it still has lines. This is where they go away.
Now, I select the black pixels (there's a took called Color Selection that allows you to select a color on that layer and it selects all the area that is that color). From there, I color the black with the colors that are by it. Like the tail is magenta, I colored the black outline magenta.

See? Now it's lineless.
5) Make a new layer with absolutely nothing in it.
Now, first, get on that layer we just did (I'm gonna call it the Color Guide layer for this sort of explanation). Select the areas that you want to be a certain color (for example, head, tail, ears, arms), switch to new layer, and fill in the selected area. Rinse and repeat until you have a basic, flat image.
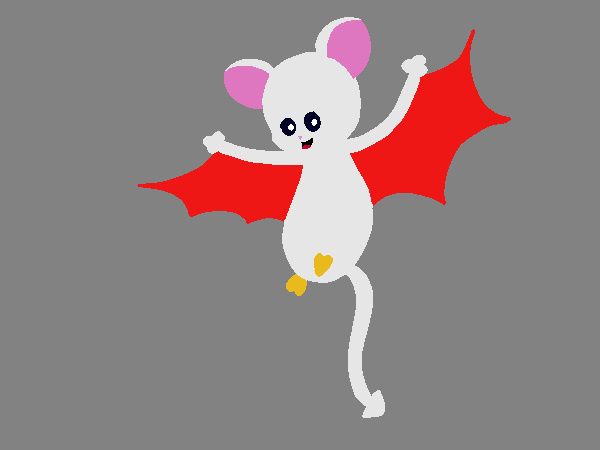 Note: Since the Korbat is a very VERY light gray, I made the background darker so you can see that easier.
See? Very basic, very flat.
6) Make a new layer. Fill it up with a gray that's right in the middle (for GIMP, this is hexadecimal code 808080) and make the layer mode Overlay.
Now for textures! For textures, I select an area from the Color Guide layer and mess with the Dodge and Burn tools. What I do really varies. I can't give you an exact breakdown on what I do each and every time. I just mess around until I come up with a look I like.
Note: Sometimes when that won't work (like if it's a too light or dark color), I use a black Divide layer if it's too dark or a white Multiply layer if it's too light From there, I proceed as normal.
7) ANOTHER new layer. Fill this one up with white and make the layer mode Multiply (or Burn - it really does vary for me. Sometimes I think Multiply looks better. Sometimes I think Burn looks better. Heck, sometimes I even use BOTH - not at the same time, of course XD).
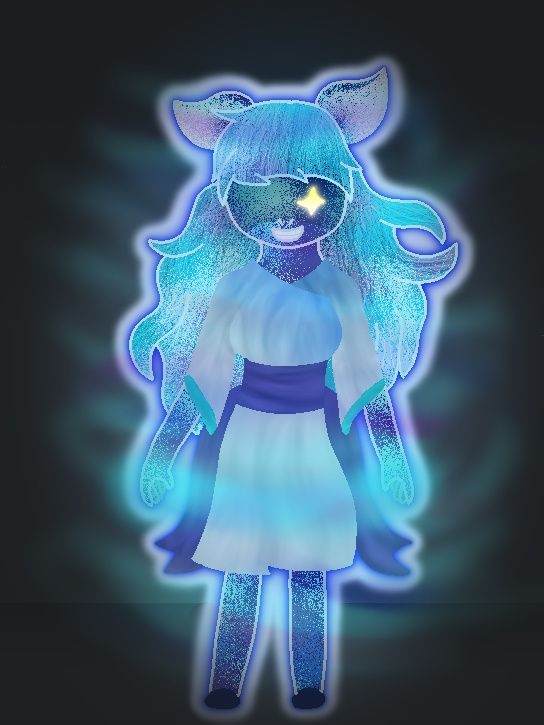
This is the time for shading! Woo! Almost done! Now like with the textures, I select a portion from the Color Guide layer and shade. I like to use the Airbrush tool. From there, I blend to make it look nicer in the end.
 Note: This is with the textures and shading combined. I didn't do much with the textures in this one. X3
8) Make a layer BELOW EVERY OTHER LAYER.
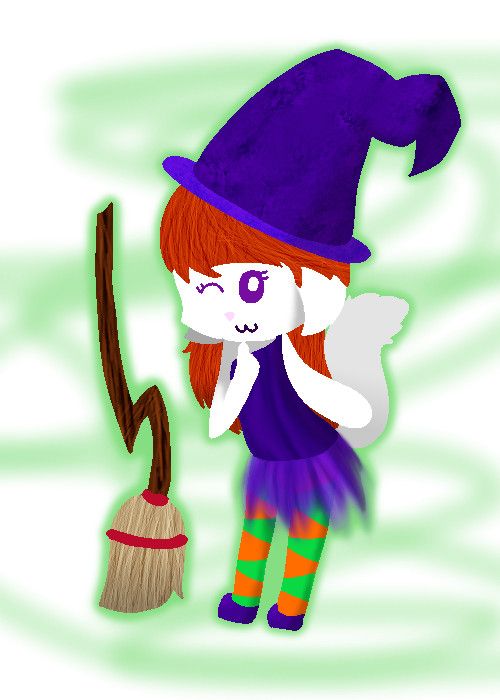
Finally, to the background. You know me, my backgrounds are simple. Again, it really varies with whatever I do. Sometimes I add shading and textures to the background (when I do, I repeat steps 6 and 7). This one isn't too special, I'm just doing a night sky.
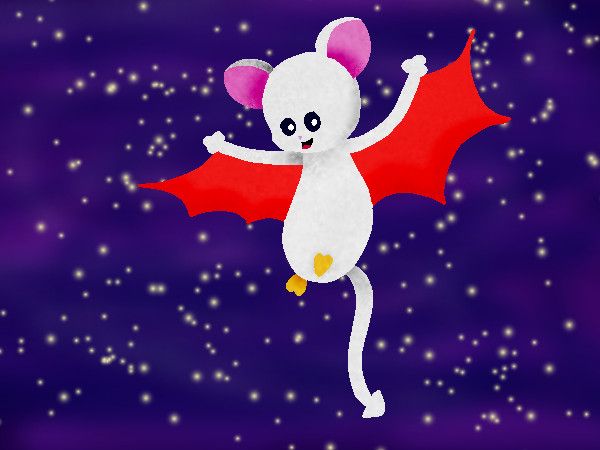
And that's it. I'm finished. ^^
While working on a pic, I usually save it as an xcf file (that's the default for GIMP). It keeps the layers and even the selection. These are really big, though. Once I'm done, I save the xcf and save it as a jpg, ready to use for Neo.

I can end up with a lot of layers. @.@ Most I had was twelve.
Every time, I want to try something different. It can be a new tool I haven't seen before, it can be a new coloring technique, it can be anything. And what I do really depends on what I'm drawing. Like if I'm making something transparent, I mess with the Opacity of what I use and I look at Layer Masks.
Is it way more complicated than it should be? Yes, yes it is. This is just how I do it. But hey, it looks nice, so I must be doing something right. Might I change it in the future? Yes, I might.
So this ends my tutorial/explanation to prove there is a method to my madness and vice versa.


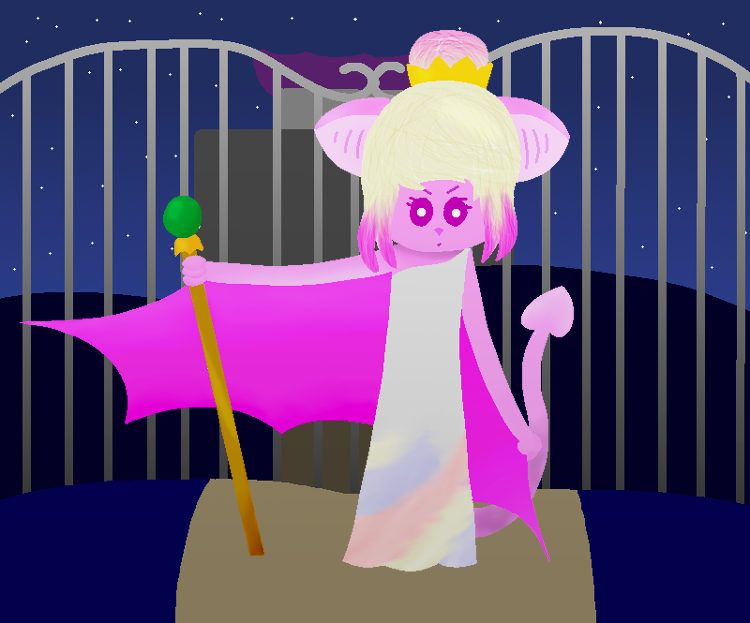
 If I were to get her, this would be her BC pic.
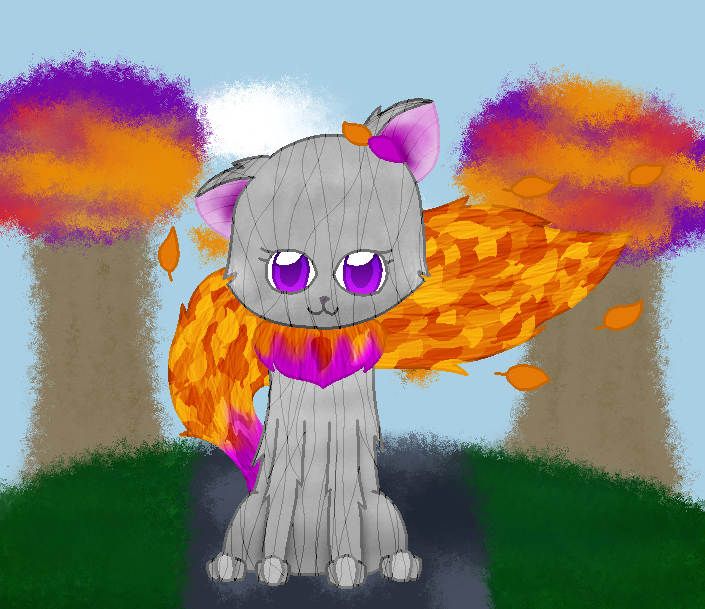
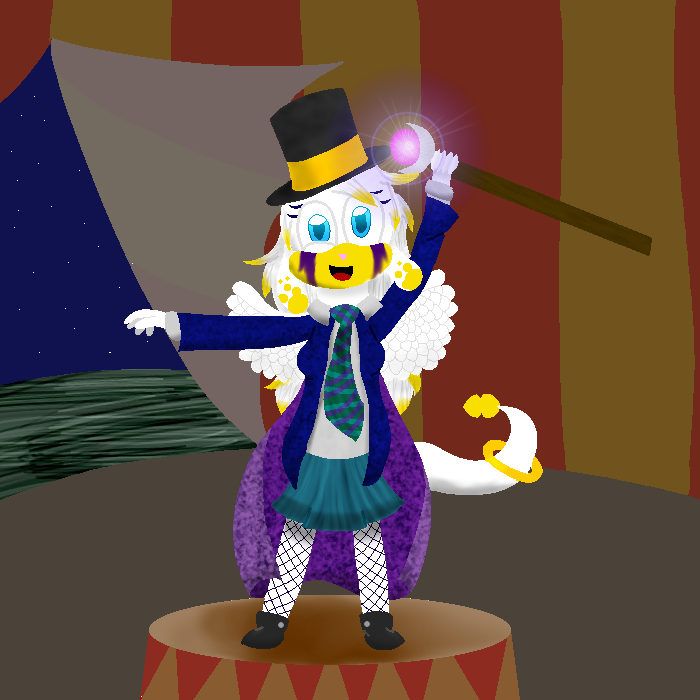


 That's an incredible level of detail, and I love the shading you added into the picture. Especially the shadows around her head, it all looks very appealing.